The Ultimate Guide to Nail Drill Bits: Find the Best Nail Drill Bits for Flawless Nails
- Marty
- Mar 24, 2025
- 4 min read
Have you ever stared at a set of nail drill bits and wondered, “Which one should I even use?” Or maybe you’ve tried doing your nails at home, only to end up with uneven edges or worse—damaged nails. Trust me, I’ve been there. The truth is, the secret to salon-perfect nails lies in using the right nail drill bits. But with so many options out there, like diamond nail drill bits, carbide nail drill bits, and ceramic bits, how do you know which ones to choose?
That’s where this guide comes in. I’m breaking down everything you need to know about nail drill bits, from their uses to pro tips for maintaining them. Plus, I’ve got a free PDF guide on keeping your nails healthy and gorgeous—because who doesn’t love free resources? Stick around, and by the end of this, you’ll be a nail drill bit pro!
In this article you'll find:
Why Nail Drill Bits Are a Game-Changer
Nail drill bits are the unsung heroes of any manicure or pedicure. They shape, smooth, and perfect your nails, whether you’re prepping for acrylics, gels, or just a natural look. But here’s the thing: not all bits are created equal. Using the wrong one can lead to discomfort, damage, or even infections. That’s why understanding the different types of nail drill bits is crucial.
In this guide, I’ll walk you through the best nail drill bits on the market, their uses, and when to use them. Whether you’re a beginner or a seasoned nail enthusiast, this guide has something for everyone.
The Must-Have Nail Drill Bits and Their Uses
1. Diamond Nail Drill Bits
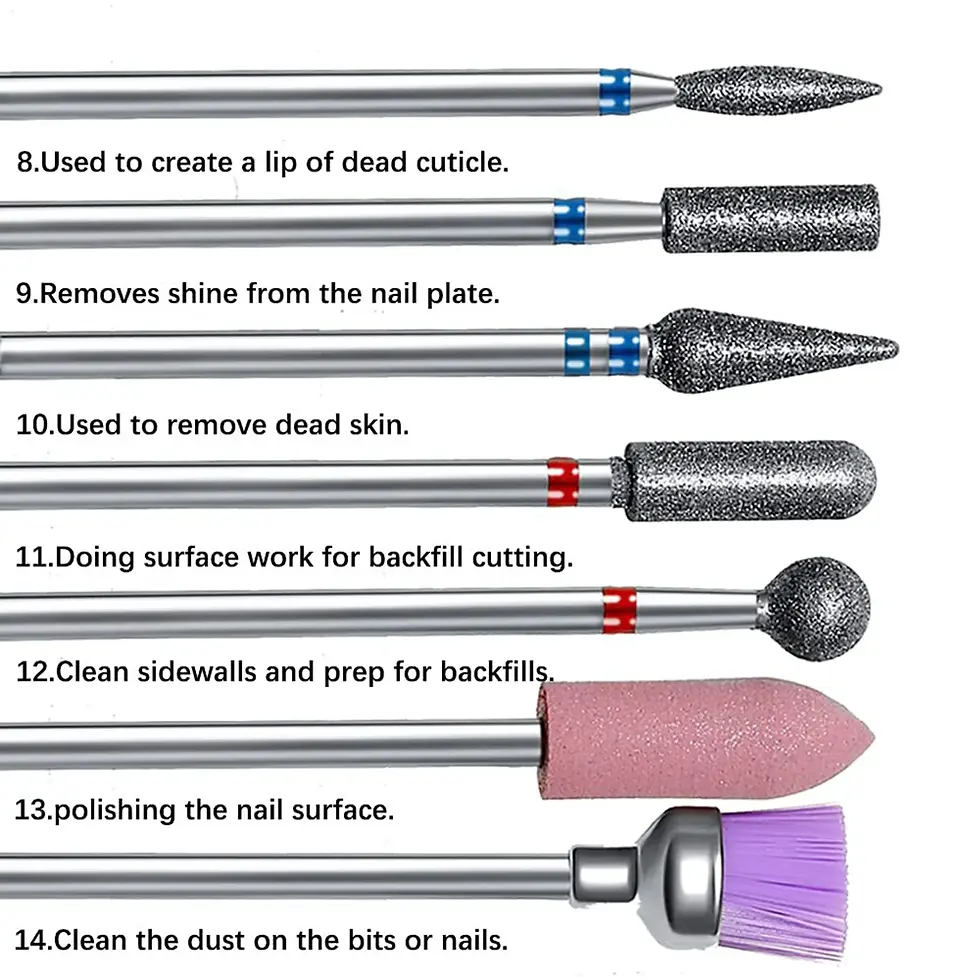
Diamond bits are my absolute favorite for precision and versatility. Made with a metal core coated in diamond dust, they’re perfect for:
- Shaping and refining natural nails
- Smoothing acrylics and gels
- Cuticle work
These bits come in various grits (coarse, medium, fine), so you can choose the right one for the job. For example, a coarse grit is ideal for removing bulk, while a fine grit is perfect for finishing touches.
Pro Tip: Diamond bits are reusable and easy to clean, making them a cost-effective choice in the long run.
2. Carbide Nail Drill Bits

If you’re dealing with tough acrylics or hard gels, carbide bits are your best friend. These bits are made from tungsten carbide and are known for their durability and efficiency. Use them for:
- Removing hard gel or acrylic extensions
- Cutting through thick nail enhancements
- Prepping nails for new applications
Carbide bits come in different shapes, like flame, cone, and barrel, each designed for specific tasks. For instance, a flame bit is great for detailed work around the cuticles, while a barrel bit is perfect for smoothing larger surfaces.
3. Ceramic Nail Drill Bits

Ceramic bits are gentle yet effective, making them ideal for sensitive nails or beginners. They’re excellent for:
- Thinning out nail enhancements
- Buffing and polishing
- Working on thin or damaged nails
Because ceramic bits don’t heat up as quickly as metal ones, they’re less likely to cause discomfort or damage.
4. Cross-Cut Tungsten Carbide Bits

These bits are designed with sharp, cross-cut edges that make them incredibly efficient at removing the product. They’re perfect for:
- Quickly removing gel polish
- Prepping nails for extensions
- Smoothing rough edges
Pro Tip: Cross-cut bits are aggressive, so use them with caution to avoid over-filing.
5. Mandrel Bits with Sandpaper Bands

Mandrel bits are versatile and budget-friendly. They use disposable sandpaper bands, which come in different grits for various tasks. Use them for:
- Light filing and shaping
- Buffing natural nails
- Quick touch-ups
These bits are great for beginners or anyone looking for an affordable option. When we purchase a nail drill, we often find one included inside, but I recommend avoiding the use of the bits that come with it because they are often not the best quality. It’s always better to buy bits that are more suited to your specific needs.
When to Use Each Type of Nail Drill Bit

Now that you know the different types, let’s talk about when to use them:
- For natural nails: Stick to diamond or ceramic bits to avoid damage.
- For acrylics and gels: Carbide and cross-cut bits are your go-to for removing bulk.
- For cuticle work: Use a fine-grit diamond bit or a flame-shaped carbide bit.
- For finishing touches: A fine-grit diamond or ceramic bit will give you that smooth, polished look.
Maintaining Your Nail Drill Bits

Proper maintenance is key to getting the most out of your nail drill bits. Here are a few tips:
1. Clean after each use: Use a brush or a bit cleaner to remove debris.
2. Sterilize regularly: Soak your bits in a disinfectant solution to prevent infections.
3. Store properly: Keep your bits in a clean, dry case to avoid damage.
For a more detailed guide on maintaining your nail drill bits and keeping your nails healthy, grab my free PDF guide!
Final Thoughts
Mastering nail drill bits is a game-changer for anyone who loves doing their nails at home or working as a nail tech. With the right tools and a bit of practice, you can achieve salon-quality results every time.
Ready to take your nail game to the next level? Check out my recommended nail drill bits and download your free PDF guide for maintaining flawless nails.
What’s your favorite type of nail drill bit? Let me know!
---
*This post may contain affiliate links, which means I may earn a small commission if you make a purchase through my links. This helps support my blog and allows me to continue creating free content for you. Thank you for your support!


Comments